Polka Dot Plant Hypoestes phyllostachya
Polka Dot Plant Care: The Complete Guide
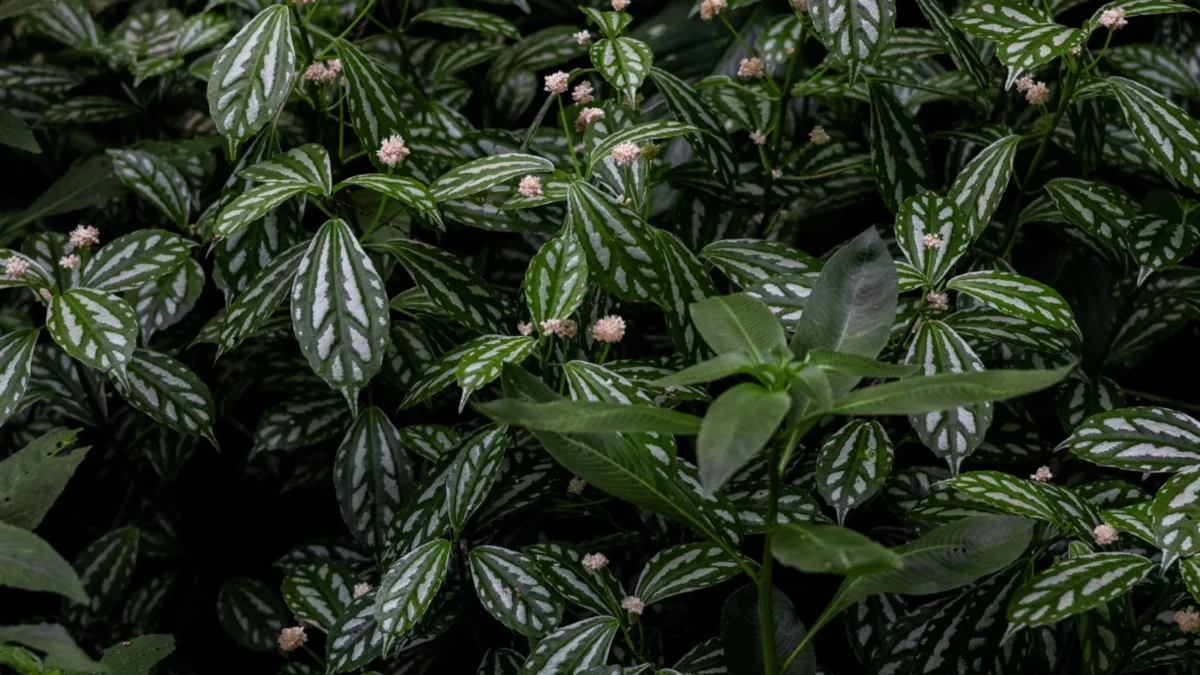
Polka dot plants bring vibrant color and texture to indoor spaces with their distinctive spotted leaves. This guide covers everything you need to know about polka dot plant care, from creating the right light conditions to troubleshooting common issues. These plants are relatively easy to grow when their basic needs are met, making them excellent for both beginners and experienced plant parents.
| Botanical name | Hypoestes phyllostachya |
|---|---|
| Light | Bright, indirect light; avoid hot direct sunlight |
| Watering | Water when top inch of soil is dry; keep moist but not soggy |
| Humidity | 60-70%; maintain at least 50% |
| Temperature | 65-80°F (18-27°C); avoid below 54°F (12°C) |
| Soil | Peat-free, well-draining, slightly acidic to neutral (pH 6.0-7.0); mix potting soil with perlite or coco coir |
| Feeding | Balanced liquid fertilizer every 2-3 weeks during growing season (April-September) |
| Size | 12-20 inches tall; can be kept low and bushy by pinching |
| Difficulty | easy |
Key points
- Provide bright, indirect light to maintain the plant’s colorful variegation
- Water when the top inch of soil is dry, keeping it moist but not soggy
- Maintain humidity of 60-70% and temperatures between 65-80°F (18-27°C)
- Use peat-free, well-draining soil with a pH of 6.0-7.0
- Feed with balanced liquid fertilizer every 2-3 weeks during the growing season (April-September)
- Pinch growing tips regularly to maintain a bushy, compact shape
Light Requirements for Polka Dot Plants
Polka dot plants need bright, indirect light to maintain their striking variegation. They thrive in warm spaces with plenty of filtered light. Direct afternoon sun will damage the leaves, causing them to curl and soften. Morning sun is generally safe, but avoid placing your plant in the path of harsh midday rays.
If your plant is in low light, the distinctive spotted pattern will gradually fade as the leaves revert to solid green. This doesn’t harm the plant, but you’ll lose the visual appeal that makes polka dot plants so popular. Position your plant near a bright window with a sheer curtain, or place it a few feet away from an unobstructed south-facing window.
Watering Your Polka Dot Plant
Water your polka dot plant when the top inch of soil feels dry to the touch. When watering, soak the pot completely until water drains from the bottom drainage holes. This ensures the entire root ball receives moisture and helps flush out any salt buildup in the soil.
The key is finding the balance between moist and soggy. Overwatering is one of the most common mistakes and leads to yellowing leaves and leaf drop. Excess water causes roots to become soft and mushy, preventing the plant from absorbing nutrients and oxygen. Conversely, insufficient water causes leaves to turn brown and droop. Check the soil regularly—it should feel like a wrung-out sponge, not dry and not waterlogged.
Humidity and Temperature
Humidity needs
Polka dot plants thrive in humidity of 60-70% and should be kept in at least 50% humidity. Indoor homes, especially in winter with heating systems running, often drop below this range. Low humidity causes brown leaf tips and edges.
Boost humidity around your plant using these methods:
- Group plants together to create a more humid microclimate
- Place the pot on a pebble tray filled with water (keep the pot above the waterline)
- Mist the foliage with lukewarm water every few days
- Use a small humidifier nearby
- Grow the plant in a terrarium or bottle garden for consistent humidity
Temperature requirements
Polka dot plants prefer warm temperatures between 65°F and 80°F (18°C to 27°C). Anything higher or lower than these parameters can cause leaf drop. The plant is sensitive to cold drafts; avoid placing it near open windows, air conditioning vents, or cold draughts that cause temperature fluctuations.
Temperatures below 54°F (12°C) will damage the plant and prevent ongoing growth. Keep your polka dot plant in a consistently warm location, away from sudden temperature changes.
Soil and Repotting
Use peat-free, well-draining potting soil that is slightly acidic to neutral with a pH of 6.0-7.0. A good mix combines regular potting soil with perlite or coco coir to improve drainage and aeration. This blend prevents water from sitting around the roots while still retaining enough moisture for the plant to access.
Repot your polka dot plant when it outgrows its container or the soil becomes compacted. Spring is the ideal time. Use a pot only slightly larger than the current one—about 1-2 inches larger in diameter—to avoid overwatering issues. Ensure the new pot has drainage holes.
Feeding and Fertilizer
During the growing season from April to September, feed your polka dot plant with a balanced liquid fertilizer every 2-3 weeks. A balanced formula (such as 10-10-10 NPK) supports healthy leaf and stem growth without promoting excessive flowering.
Follow the manufacturer’s instructions carefully; overfertilizing can cause brown leaves and damage the roots. During autumn and winter, reduce feeding as growth slows. You can stop fertilizing entirely or apply it less frequently during these months.
Pruning and Shaping
Polka dot plants grow to 12-20 inches tall but can become leggy and sparse over time. Pinching out the growing tips promotes a bushier, more compact habit. This encourages the plant to branch sideways rather than growing tall and straggly.
To pinch your plant, simply use your fingertips or small scissors to remove the tip of each stem just above a set of leaves. Do this regularly throughout the growing season. You can also remove any tall, leggy shoots and flower stems to maintain a neat appearance and direct energy into foliage growth.
Propagation Methods
Polka dot plants are easy to propagate from stem cuttings. You can root them in either water or soil, and new plants will be ready within a few weeks.
Propagating in water
Take stem cuttings that are 3-6 inches long and contain at least one node (the swollen point where leaves emerge). Remove the leaves from the bottom one or two nodes so they won’t be submerged—submerged leaves will rot and cloud the water. Keep the top two or three leaves intact so the cutting can photosynthesize and fuel root development.
Place the cutting in a glass of room-temperature water and keep it in bright, indirect light; direct sun will overheat the water and stress the cutting. Change the water every few days to keep it fresh and oxygenated. Within 2-4 weeks, small white roots will appear at the nodes. Wait until roots are about 2 inches long before moving the cutting to soil.
Planting rooted cuttings in soil
Prepare a small 3-4 inch pot with moist, well-draining houseplant potting mix. Make a small hole in the soil with a pencil or your finger. Carefully remove the cutting from water and insert it so the nodes are buried. Press the soil gently around the stem for good contact. Take care not to damage the new roots; transplanting shock can set back young plants.
Keep the soil consistently moist and provide bright, indirect light. It should take a few weeks for the roots to establish. Once the plant shows new growth, it’s ready to move to standard care conditions.
Propagating directly in soil
You can also root cuttings directly in soil using the same selection method. Prepare a pot with moist potting mix, insert the cutting so the nodes are buried, and follow the same light and moisture conditions. This method skips the water stage but works equally well.
Common Problems and Solutions
Yellowing leaves: Overwatering is the primary cause. Ensure your pot has drainage holes and allow the soil to dry slightly between waterings. Check that the plant isn’t sitting in a tray of standing water.
Brown or drooping leaves: Insufficient water and humidity are common culprits. Increase misting frequency, use a pebble tray, or move the plant to a more humid location. Also check for hard water or overfertilization.
Faded variegation: Low light causes the distinctive spotted pattern to disappear. Move the plant closer to a bright window or provide grow light for 12-14 hours daily.
Curled leaves: This typically indicates too much direct sun. Relocate the plant away from hot afternoon rays and maintain bright, indirect light instead.
Leaf drop: This can result from multiple stressors including cold temperatures and drafts, overwatering, direct sunlight, pest infestations, or general environmental stress. Review all care factors and adjust accordingly.
Pests: Mealybugs, whiteflies, and aphids can infest polka dot plants, especially when indoor conditions are improper. These pests weaken leaves by sucking out their liquid, causing them to soften and drop. Inspect plants regularly and treat infestations promptly with neem oil or insecticidal soap.
Diseases: Root rot, leaf-spot diseases, rust, southern blight, and powdery mildew are associated with polka dot plants. These typically occur in overly wet or humid conditions. Ensure good air circulation, avoid wetting the foliage unnecessarily, and don’t allow soil to stay waterlogged.
FAQ
Is polka dot plant toxic to cats and dogs?
Polka dot plants are non-toxic to both cats and dogs according to the ASPCA Animal Poison Control Center. All common cultivars, regardless of leaf color, have the same non-toxic safety profile.
Can polka dot plants cause any health issues if eaten?
While the plant itself isn’t poisonous, chewing leaves may cause mild stomach upset in pets. Since cats are obligate carnivores, their digestive systems aren’t designed to process much plant material.
How often should I water my polka dot plant?
Water when the top inch of soil is dry to the touch. This typically means watering every 4-7 days depending on light, temperature, and humidity, but always check the soil first.
Can polka dot plants grow in low light?
Polka dot plants can survive in low light but will lose their distinctive variegation and appear dull and green. They need bright, indirect light to maintain their colorful spotted appearance.
What size does a polka dot plant grow to?
Polka dot plants typically grow 12-20 inches tall. Regular pinching of the growing tips keeps them compact and bushy rather than tall and leggy.
What humidity level does a polka dot plant need?
They thrive in 60-70% humidity but will tolerate as low as 50%. Below 50% causes brown leaf tips and edges.
More about Polka Dot Plant
Sources
- How to Care for Hypoestes phyllostachya (Polka Dot Plant) Indoors
- Polka Dot Plant pet safety: Pet-safe
- Polka Dot Plant Care: How to Grow Hypoestes phyllostachya Indoors
Photo: Juan Pablo Daniel / Pexels, Pexels