Anthurium Clarinervium Anthurium clarinervium
How to Care for Anthurium Clarinervium: Complete Growing Guide
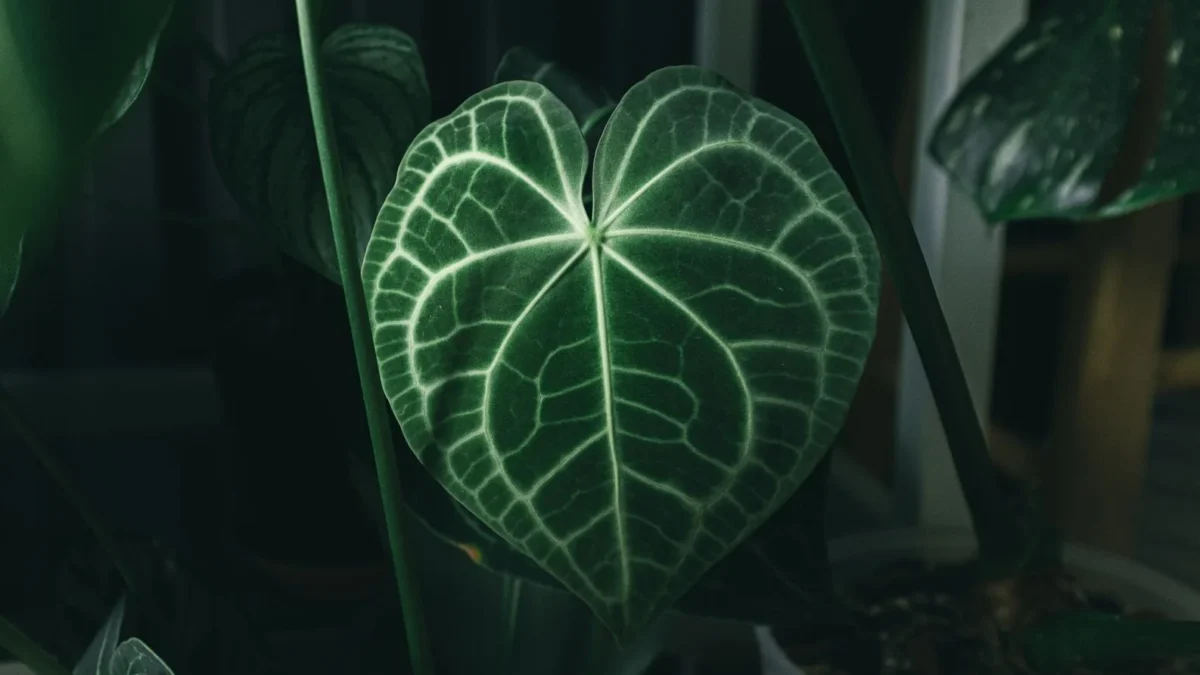
Learning how to care for Anthurium Clarinervium successfully means understanding its need for bright indirect light, consistent moisture, and high humidity. This striking tropical plant, also known as flamingo flower, is moderately challenging to grow indoors but absolutely rewarding once you establish the right conditions. This guide covers everything you need to know to keep your Clarinervium healthy and displaying its signature velvety, dark leaves with contrasting pale veins.
Anthurium Clarinervium at a glance
| Botanical name | Anthurium clarinervium |
|---|---|
| Light | Bright, indirect light; avoid direct sun which scorches leaves |
| Watering | Water when top 1–2 inches of soil feel dry; use filtered or rainwater |
| Humidity | 60–85% humidity; use humidifier or moist gravel tray |
| Temperature | 65–80°F (18–27°C); keep above 55°F to prevent tissue damage |
| Soil | Acidic, chunky, well-draining mix: orchid bark, perlite, sphagnum moss, charcoal; pH 5.5–6.8 |
| Feeding | Orchid fertilizer every 2 weeks spring–autumn, or balanced liquid quarter–half strength every 4–6 weeks |
| Size | 30–60 cm tall and wide; leaves about 4 inches across |
| Difficulty | moderate |
Key points
- Place in bright, indirect light away from direct sun to protect the delicate velvety leaves
- Water when the top 1–2 inches of soil feel dry using filtered or rainwater
- Maintain 60–85% humidity with a humidifier or moist gravel tray, not misting
- Keep temperatures between 65–80°F and never below 55°F
- Use acidic, chunky, well-draining soil with pH 5.5–6.8
- Feed with orchid fertilizer every 2 weeks spring to autumn, or balanced liquid fertilizer every 4–6 weeks
Light Requirements for Anthurium Clarinervium
Anthurium Clarinervium must be grown indoors in bright, indirect light. Direct sun will scorch the soft, velvety leaves, causing brown, crispy edges. On the other hand, insufficient light triggers slow growth, smaller leaves, and pale color that loses the plant’s visual appeal.
For the best results, provide bright filtered light—think of conditions under a tree canopy or several feet back from an east or north-facing window. The pale venation on the dark foliage shows its strongest contrast in bright indirect light, and new leaves emerge larger with more defined vein patterns. If you notice dull veining, leggy stems topped with small leaves, or slow to no growth, your plant isn’t receiving enough light and needs to move to a brighter position.
Watering Your Anthurium Clarinervium
Water when the top 1–2 inches of soil feel dry to the touch. This usually means watering every 5–7 days during the growing season, though frequency varies by season, pot size, and environment. Don’t water on a rigid schedule; always check the soil first.
Use filtered or rainwater rather than tap water. Anthuriums are sensitive to chlorine and dissolved salts that accumulate in tap water, both of which build up in the substrate and burn leaf tips brown over time. If you only have access to tap water, collect it and let it sit for 24 hours before using, or run it through a simple carbon filter.
Water sparingly in winter when growth slows naturally. Soggy soil left standing for long periods causes root rot, which will kill the plant if not caught early. At the same time, avoid letting the potting mix dry out completely for extended periods, as this stresses the roots and causes brown, crispy leaf tips.
Humidity and Temperature
Humidity needs
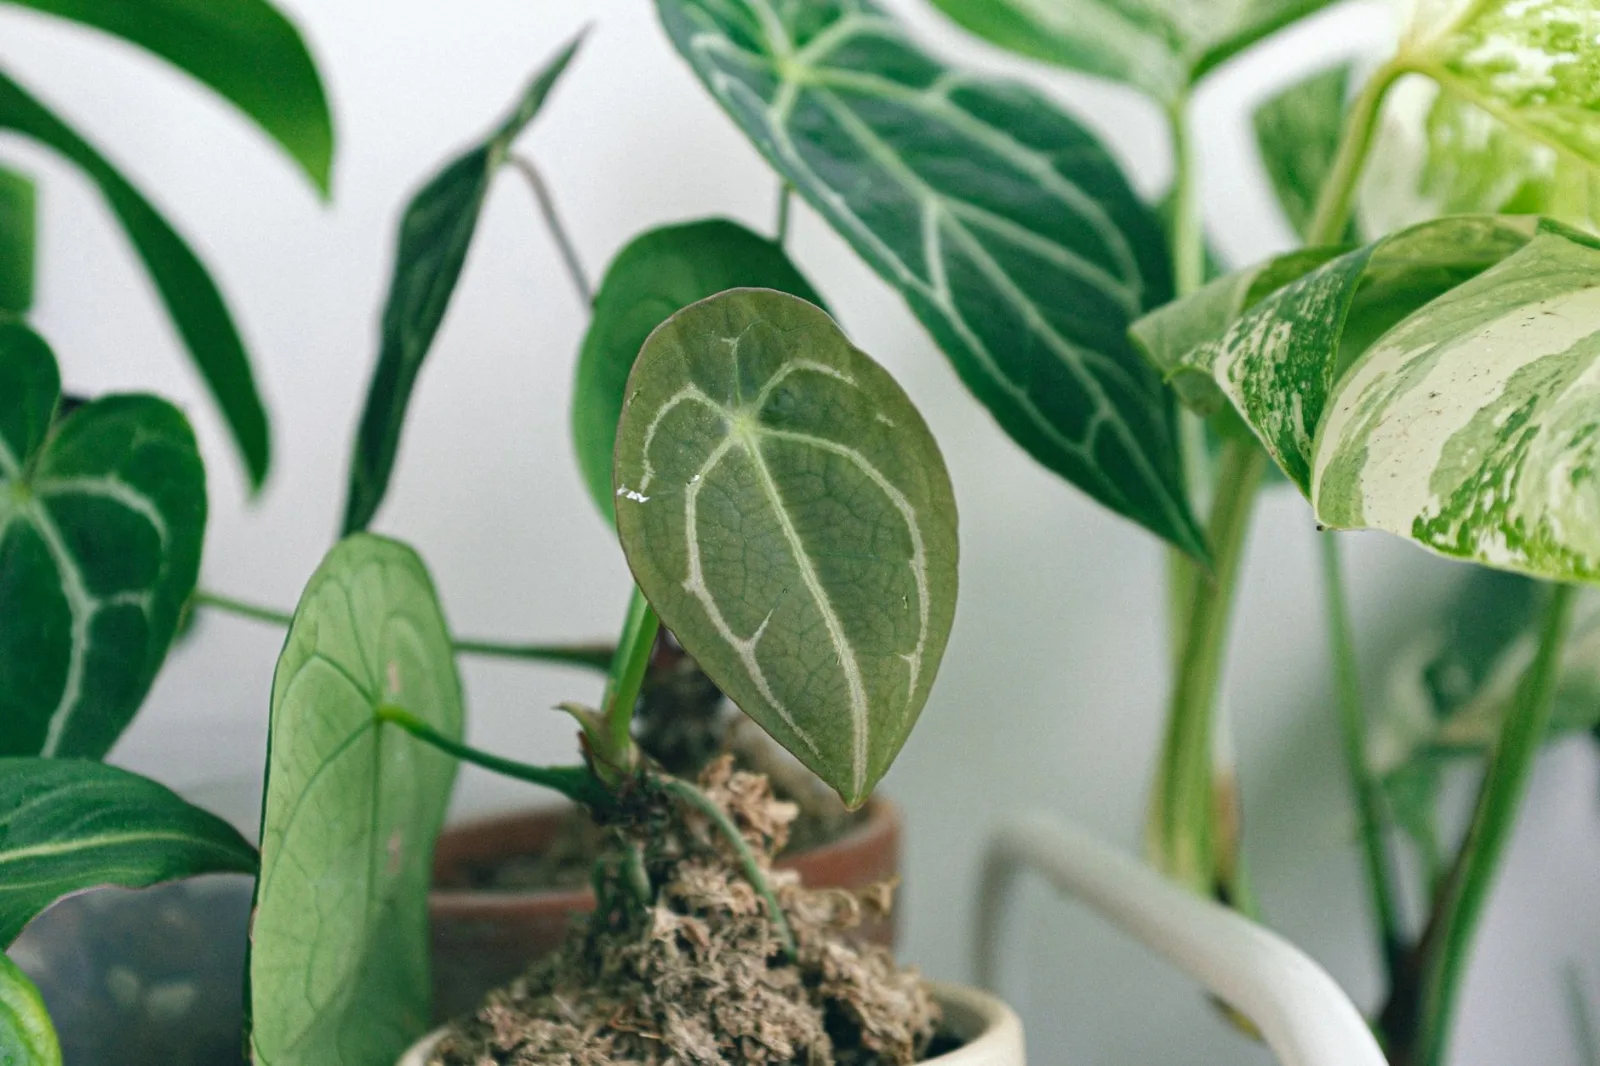
Anthurium Clarinervium needs 60–85% humidity to thrive. This is the variable that breaks most indoor growing attempts and is essential for the plant’s health. While the Clarinervium has thicker leaves than many other tropical plants and shows some tolerance for lower humidity, it will be significantly healthier in humid air.
The most effective way to raise humidity is to place the container on a tray of moist gravel or pebbles. A humidifier is the only reliable winter solution, especially in heated homes where air becomes very dry. Misting should be avoided despite its popularity, as it raises humidity for only about ten minutes and increases the risk of fungal spotting on the velvet leaf surface. If your indoor humidity runs below 50%, invest in a humidifier and aim for at least 60% relative humidity at minimum.
Temperature requirements
Keep Anthurium Clarinervium between 65 and 80°F (18 to 27°C). Below 55°F, tissue damage becomes visible and won’t recover. Avoid placing the plant near cold drafts, air conditioning vents, or exterior doors in winter. Let any water used for watering warm to room temperature before applying, as cold water shocks the roots.
Consistent temperatures matter more than achieving the exact ideal range. Sudden temperature dips can slow growth temporarily, and frequent changes in temperature stress the plant and reduce leaf quality. Keep the plant away from heating vents that create fluctuating temperatures.
Soil and Repotting
Choosing the right soil
Anthurium Clarinervium needs acidic, chunky, well-draining soil that replicates its natural epiphytic habitat. The soil should hold just enough moisture to hydrate the roots between watering, preventing both dryness and waterlogging.
Two proven recipes work well:
Option 1: Two parts ericaceous peat-free compost, one part perlite, and one part orchid bark.
Option 2: Roughly equal parts orchid bark, perlite, sphagnum moss, and charcoal mixed together to create a very open, chunky aroid mix.
Both formulas should have a soil pH between 5.5 and 6.8. Dense, waterlogged medium causes oxygen depletion in the root zone, creating anaerobic conditions that promote fatal root rot diseases. Never use standard multipurpose compost, which retains too much moisture.
When and how to repot
Repot Anthurium Clarinervium every two to three years. Being slow to medium growers, these plants don’t become root-bound quickly, and repotting provides the opportunity to move the plant into a larger container to encourage growth. Fresh potting mix annually prevents salt buildup from fertilizer, restores nutrients, and keeps the plant thriving.
Wait about 4 weeks after repotting before fertilizing—fresh mix already carries nutrients, and feeding freshly disturbed roots causes damage. Flush the soil with plain water every 2–3 months to prevent harmful salt accumulation in the substrate.
Feeding and Fertilizer
Anthurium Clarinervium is a hungry plant, and fertilizing generously is one of the most important aspects of successful care. Choose one of two approaches:
Approach 1: Apply orchid fertilizer every 2 weeks from spring to autumn.
Approach 2: Use a balanced liquid fertilizer at quarter to half-strength every 4–6 weeks in spring and summer.
Because the thin leaves show fertilizer salt burn at the tips quickly, flush the soil with plain water every 2–3 months. This prevents salt damage and keeps roots healthy. During winter, reduce feeding as growth slows naturally.
Pruning and Maintenance
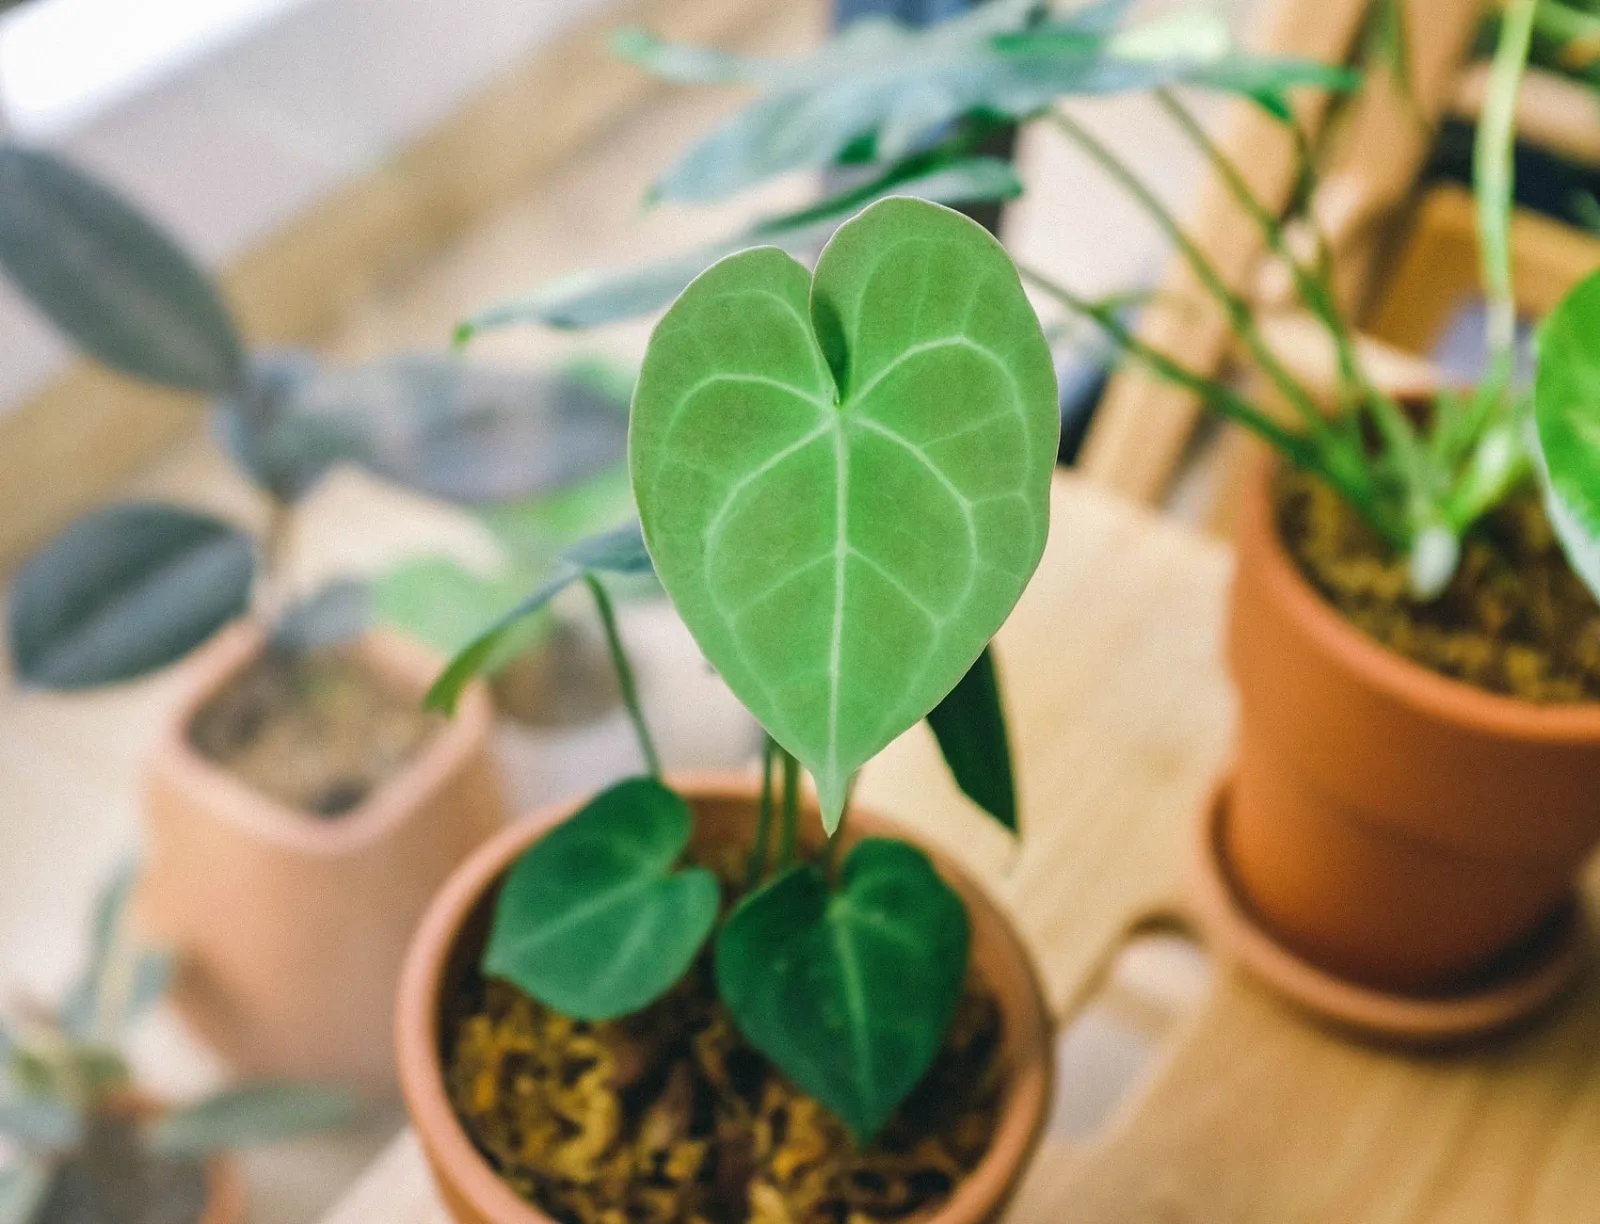
Pruning Anthurium Clarinervium is simple: remove dead leaves or flower stems at the base. This improves the plant’s appearance and redirects energy to new growth. There is no need to prune for shape unless stems become excessively long.
New leaves appear relatively slowly—in typical indoor conditions, expect one new leaf every 4–8 weeks during the active growing season. This slow growth rate is normal and doesn’t indicate a problem as long as leaves are healthy and your care routine is sound.
Propagation Methods
Anthurium Clarinervium can be propagated by division, stem cuttings, rhizome cuttings, and offsets in spring or summer. Division during repotting is the most reliable method.
To propagate by division:
- During repotting, separate a rooted offset that has at least one leaf.
- Pot it into fresh chunky mix.
- Keep humidity high (60–85%) while it re-establishes roots.
- Avoid fertilizing for about 4 weeks after potting the new plant.
Offsets and side shoots rooted in division establish faster than bare cuttings, making this method far superior for the Clarinervium.
Common Problems and Solutions
Brown leaf tips or edges
Brown tips are commonly caused by either underwatering or low humidity. If the potting medium is dry right through and pulling away from the edges, you’re not watering sufficiently—prolonged dryness causes brown, crisp tips. Increase humidity to at least 60% and check that you’re watering when the top 1–2 inches feel dry. Chlorine and dissolved salts in tap water also burn leaf tips brown, so switch to filtered or rainwater.
Leaf blight
The soft, velvety leaves are prone to brown spots surrounded by a yellow ring, a condition caused by bacterial leaf blight. Remove and discard any infected leaves by breaking the petiole near the leaf blade. Improve air circulation and reduce leaf wetness to prevent spread.
Slow or stalled growth
Slow growth stems from several causes: insufficient light (move to a brighter location with 300–800 foot-candles of bright indirect light), low humidity below 60%, infrequent fertilizing during the growing season, sudden temperature dips, or severely crowded roots. Keep the environment consistent; frequent changes in humidity, watering, or temperature slow growth and reduce leaf quality. Check each variable before assuming the plant is simply slow.
Leaf curl
Curled leaves indicate potting mix that is either too dry or has stayed too wet, or low humidity. Check soil moisture and aim for at least 40–60% relative humidity indoors.
Yellowing leaves
Yellowing leaves point to overwatering, low humidity, or inadequate lighting. Review your watering schedule (soil should dry slightly between waterings), increase humidity, and ensure bright indirect light.
Root rot
Overwatering leads to root rot, which causes entire leaves to turn brown, yellow, and mushy from the base upward. This is often fatal if not caught early because damaged roots cannot absorb water or nutrients. Repot into fresh, dry soil immediately and adjust watering to allow soil to dry to the top 1–2 inches between waterings. Ensure the pot has drainage holes.
Is Anthurium Clarinervium Toxic to Pets?
All parts of the Anthurium are toxic to cats, including the stem, flowers, seeds, leaves, and roots. Anthurium is mildly toxic to cats due to calcium oxalate crystals, but serious harm is rare.
The plant is also toxic to dogs due to insoluble calcium oxalates. Anthurium is mildly toxic to dogs, but serious harm is rare.
To keep your pets safe, wear gloves when handling the plant and keep it out of reach of children and pets.