Cast Iron Plant Aspidistra elatior
How to Propagate Cast Iron Plants: Step-by-Step Guide
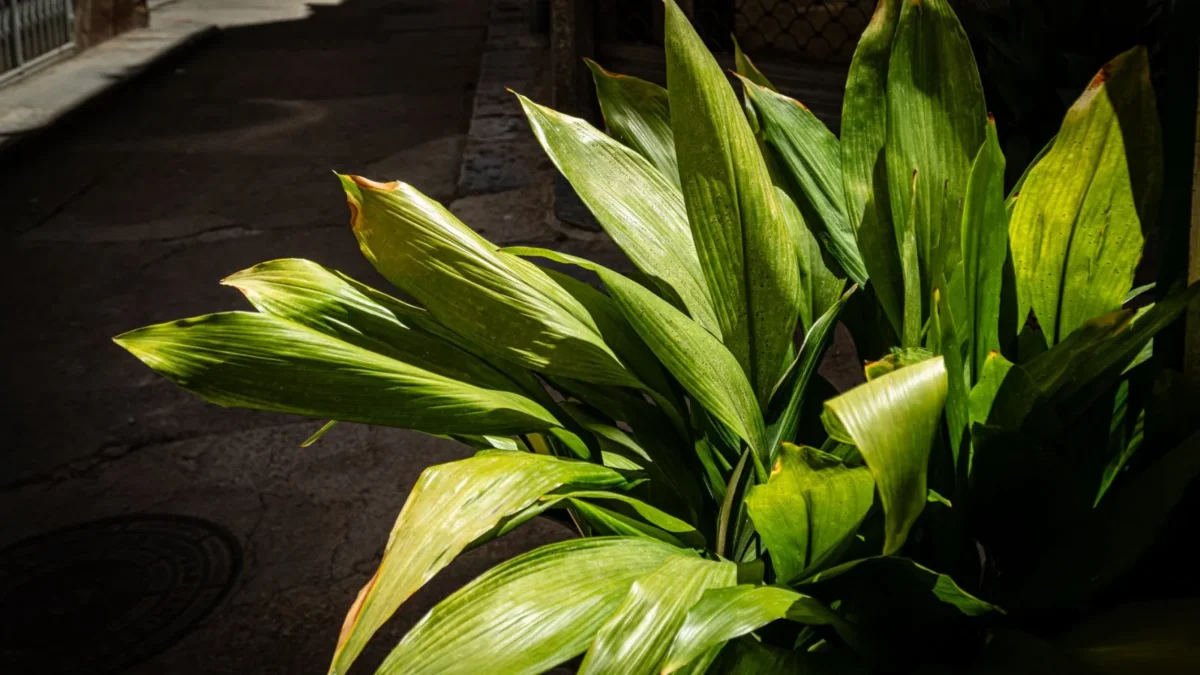
Quick answer: Rhizome division is the only reliable way to propagate a cast iron plant. Divide your mature plant in spring, ensure each section has at least 2–3 leaves and healthy roots, pot in fresh compost, and water sparingly for the first month.
| Botanical name | Aspidistra elatior |
|---|---|
| Light | Bright indirect light; tolerates full shade; avoid direct sun |
| Watering | Water when top 6 cm of soil feels dry; every 10-14 days spring/summer; every 3-4 weeks fall/winter |
| Humidity | Not important; tolerates dry or moist air; average household humidity adequate |
| Temperature | 60-75°F (15-24°C); tolerates dips to 45°F (5°C) |
| Soil | Well-drained, peaty potting mixture; 50:50 peat-free loam and peat-free compost |
| Feeding | Balanced liquid fertilizer at half strength once or twice in spring/summer; monthly during growing season |
| Size | 60-90 cm tall with 60-90 cm spread; typically 3 feet tall |
| Difficulty | easy |
| Cats | ✓ non-toxic |
| Dogs | ✓ non-toxic |
The only method that works: rhizome division
While you may see advice online about leaf cuttings, this doesn’t work for cast iron plants. Rhizome division is the single reliable propagation method, and the good news is it’s straightforward if you follow the right steps.
The cast iron plant grows from a rhizome — an underground stem that spreads horizontally and sends up leaves. Unlike many houseplants, new growth only emerges from this rhizome, never from cut leaf tissue. This is why division is the only way forward: you’re splitting the rhizome itself into separate, viable pieces.
Step-by-step propagation guide
-
Choose the right time. Spring or fall is ideal for division. Spring is generally preferred because the plant is beginning its growing season.
-
Remove and inspect the plant. Tip your mature cast iron plant out of its pot in spring and gently work the rhizome apart with your hands. The rhizome usually has natural growing points that separate cleanly without forcing.
-
Make clean divisions. Each section you separate must have at least 2–3 leaves and a portion of healthy rhizome with feeder roots attached. Discard any soft or rotted sections.
-
Pot immediately. Place each division in fresh, well-draining potting mix. Use a 50:50 blend of peat-free loam-based and peat-free multi-purpose compost for best results.
-
Water sparingly. After potting, water sparingly for the first month. The plant will pause growth for several months as it establishes new roots, but it recovers reliably.
What to expect after division
Don’t panic if your newly divided plant looks dormant for a while — this is normal. The cast iron plant is a slow grower even under ideal conditions, so patience is essential. New foliage will eventually emerge from the rhizome once the roots are established, but this may take several weeks or even months.
Common mistakes to avoid
Dividing too small: Sections with fewer than 2–3 leaves may struggle to survive. Always prioritise giving each division enough leaf surface to support the plant while roots establish.
Overwatering after division: The temptation to “help” your new divisions along with frequent watering is the easiest way to cause root rot. Keep the soil only lightly moist for the first month, then resume normal watering once growth appears.
Attempting leaf propagation: Single leaves simply won’t work. Save your energy and stick with rhizome division — it’s the method that actually works for this species.
Read the full guide: Cast Iron Plant Care: The Complete Guide
More about Cast Iron Plant
The same problem in other plants
- How to Propagate a Weeping Fig from Cuttings
- How to Propagate Umbrella Plant from Cuttings
- How to Propagate Nerve Plant: Step-by-Step
- How to Propagate Polka Dot Plant from Cuttings