Alocasia Alocasia
Alocasia Care: The Complete Guide to Growing Healthy Plants Indoors
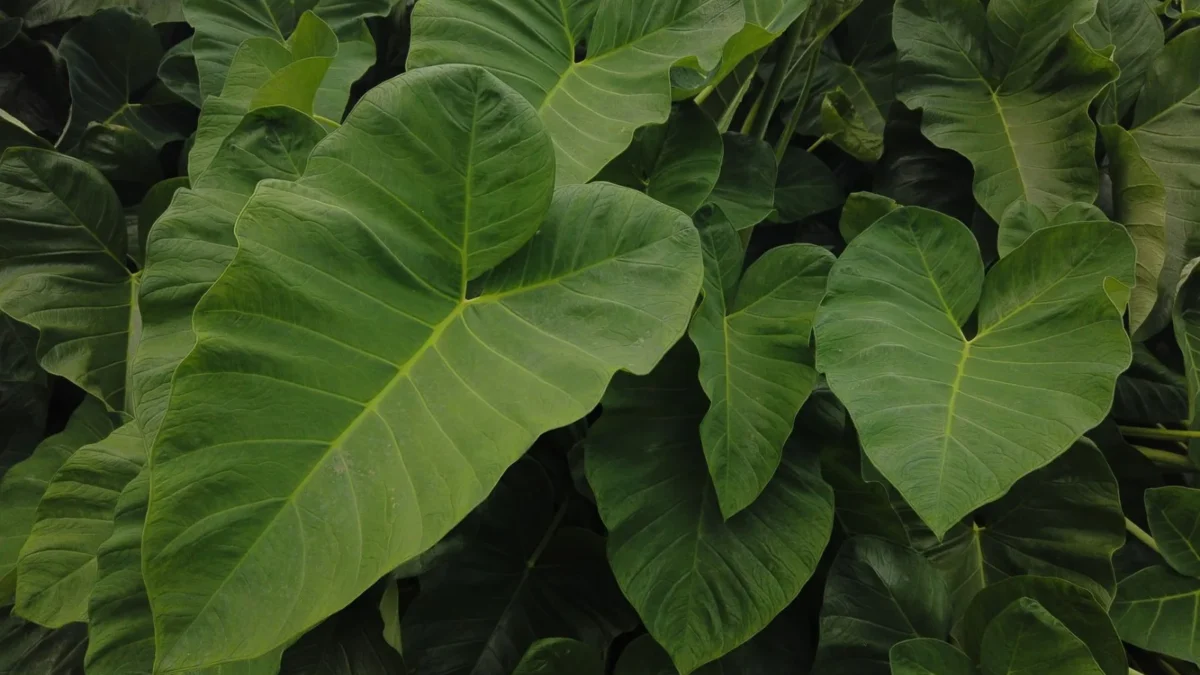
Understanding alocasia care will help you grow one of the most striking tropical houseplants available. Alocasia is a genus of rhizomatous or tuberous perennials from the Araceae family, native to tropical and subtropical Asia and eastern Australia, with around 70 accepted species. Most grow 2–6 feet tall indoors, though some species reach up to 1.5 metres (5 feet) and many smaller, equally impressive varieties exist. With the right light, water, humidity, and temperature, these large-leaved plants thrive indoors and become a dramatic focal point in any room.
| Botanical name | Alocasia |
|---|---|
| Light | Bright indirect light; avoid direct summer sun |
| Watering | Water when top 2-3 cm soil is dry; every 5-7 days spring/summer, every 2-3 weeks winter |
| Humidity | High humidity spring to autumn; mist or use pebble tray |
| Temperature | 16–30°C (60–85°F); avoid temperatures below 16°C and drafts |
| Soil | Peat-free houseplant compost with horticultural grit; 3 parts compost to 1 part grit |
| Feeding | General liquid fertilizer every 2-3 weeks spring to autumn; no feeding in winter |
| Size | 2-6 feet tall; some species up to 1.5m (5ft); many smaller options available |
| Difficulty | moderate |
Key points
- Provide bright indirect light; direct summer sun burns the foliage
- Water every 5–7 days in spring and summer when the top 2–3 cm of soil is dry; reduce to every 2–3 weeks in winter
- Keep humidity high from spring to autumn using a pebble tray or misting
- Maintain temperatures between 16–30°C (60–85°F) and avoid drafts
- Repot every couple of years in spring using peat-free compost mixed with horticultural grit
- All Alocasia species are toxic to cats and dogs
Light Requirements for Alocasia
Alocasia plants need bright but indirect light. Position yours near an east- or north-facing window or a few feet back from a south-facing one. Bright, filtered light keeps leaves large and vibrant. Direct sun in summer can burn the foliage, causing brown, papery patches that don’t recover. If you notice leaves looking pale or stems becoming weak and stretched, the plant is signalling insufficient light and should be moved closer to a window or to a brighter spot in the room.
Watering Your Alocasia: Frequency and Best Practices
Growing Season: Spring and Summer
Water every 5 to 7 days in spring and summer as soon as the top 2 to 3 centimetres of soil is dry. Always check the soil rather than watering on a fixed calendar. The easiest method is the finger test: insert your finger about 2 cm into the compost—if it feels dry, water thoroughly until water drains from the bottom holes.
Alocasia have shallow, fleshy rhizomes that are highly sensitive to saturated soil, so drainage is critical. Water freely during the growing season, but never leave the pot standing in water.
Dormant Season: Autumn and Winter
Cut back to watering roughly every 2 to 3 weeks in winter. Continuing the summer watering schedule is the single most common way alocasia is killed indoors. In winter, when dormant, plants need very little water and no feeding. Keep them cooler and drier during winter dormancy.
During this period, growth slows dramatically and soil dries more slowly. Always check the soil moisture before watering—the pot should feel noticeably lighter than during the growing season.
Humidity and Temperature
Humidity
Alocasia needs humid air from spring to autumn. In heated homes with dry air, provide high humidity by placing the container on a tray of moist gravel or pebbles. As the water evaporates, it surrounds the plant with moisture without waterlogging the roots. Misting the leaves also helps, particularly in spring and summer, but a pebble tray is more effective over time.
Humidity levels affect how quickly soil dries. High humidity environments reduce the need for frequent watering, while lower humidity may require more frequent checks and potential increases in watering to compensate for faster-drying soil.
Temperature
Alocasia needs temperatures of 16–30°C (60–85°F). Plants dislike cool temperatures below 16°C (60°F) and drafts, which can trigger leaf drop within hours. Keep your plant away from air conditioning vents, open windows in cold weather, and cold exterior walls. Sudden temperature swings cause stress faster than you’d expect—a drop below 16°C or direct cold airflow can cause leaves to droop within hours.
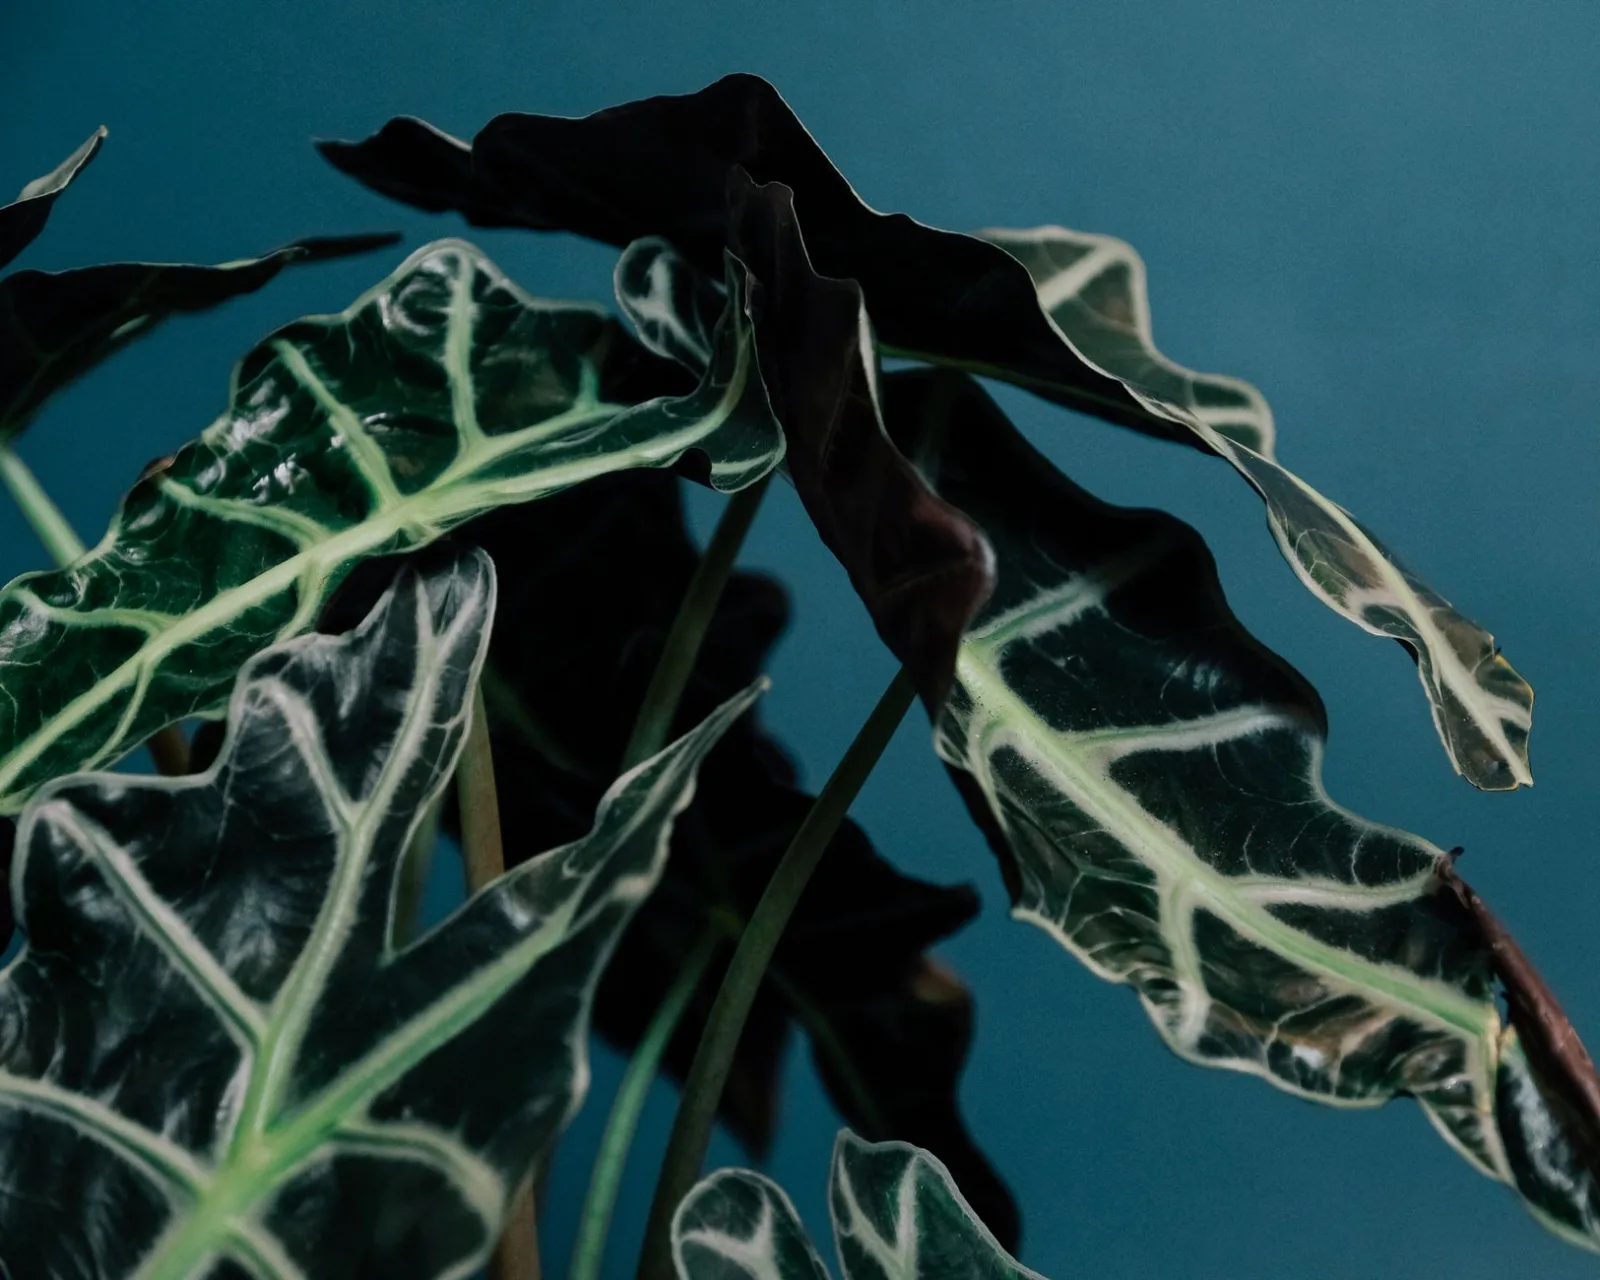
Soil and Repotting
Choosing the Right Soil
When repotting, choose a peat-free houseplant compost, or a peat-free multi-purpose compost and add horticultural grit to improve drainage—approximately three parts compost to one part grit. This blend provides the loose, well-draining medium these plants need. Avoid heavy potting soils or those with added water-retention crystals, which increase the risk of root rot.
When and How to Repot
Alocasia can usually be left in their original pot for a year or so, but should then be repotted every couple of years, especially faster-growing species. Check for overcrowded roots and repot in spring if necessary. Spring is ideal because the plant is emerging from dormancy and ready to establish new roots quickly.
When repotting, gently loosen the root ball and remove excess old soil. If you spot small, firm, round corms (tan or brown in colour) around the root system, these are natural offshoots and can be separated for propagation.
Feeding and Fertilizer
Apply a general liquid fertiliser every 2–3 weeks from spring to autumn. Use a balanced, water-soluble houseplant feed diluted to the manufacturer’s strength. Feed only during the growing season when the plant is actively producing new leaves.
In winter, when dormant, plants need very little water and no feeding. Stop fertilising around mid-autumn and resume in spring. Over-feeding causes salt buildup in the soil and can damage roots.
Pruning and Maintenance
Alocasia rarely need heavy pruning. Remove any yellowed, damaged, or dead leaves at their base using clean scissors or secateurs. Occasionally, lower leaves naturally yellow and drop as the plant matures—this is normal. Wipe leaves gently with a soft, damp cloth to keep them dust-free and allow the plant to photosynthesise efficiently.
If your plant becomes very tall and leggy, you can prune back the stems in spring, though new growth may take several weeks to emerge from the cut point.
Propagation Methods
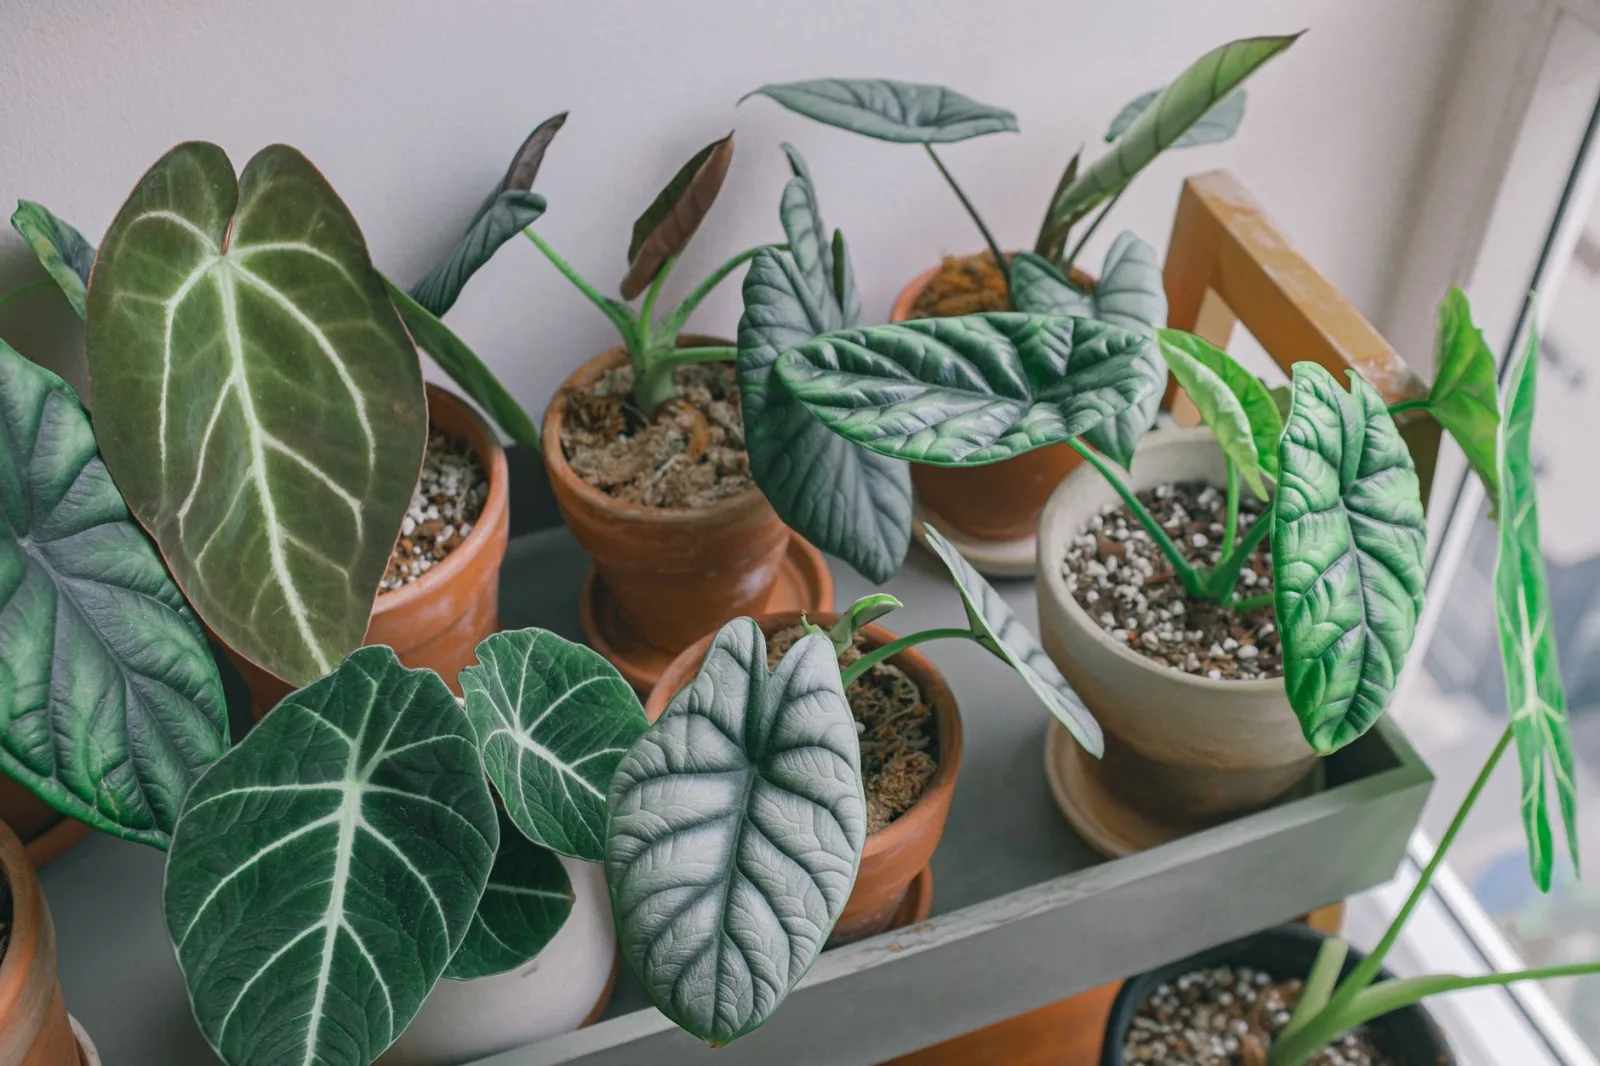
Alocasia are easy to propagate because they naturally produce multiple growth points. There are several methods depending on what your plant develops.
Rhizome Division
The best method of propagation involves splitting rhizomes. Propagate in spring or early summer, when the plant is coming out of dormancy. Remove the entire plant from its pot. You’ll see the underground rhizome—the thick, horizontal stem from which roots and leaves emerge. Using a sharp knife, cut the rhizome into sections, ensuring each piece has at least one growth bud (a small protrusion or dormant eye). Make clean cuts rather than snapping off pieces, as this is better for both parent and offset health. Pot each section into fresh, gritty compost and water lightly. Keep warm and bright, and new growth should appear within 3–4 weeks.
Removing Offsets
If your plant produces tiny offshoots or pups around the base, don’t rush to separate them. Wait until each offset has at least 2–3 leaves and its own visible root system developing through the soil. If it’s still relying on the mother plant’s rhizome, give it more time to develop strength. Once independent roots are obvious, you can gently separate it with a clean cut and pot it separately.
Propagating Corms
When repotting, sift through the soil around the root ball to find corms—small, round, firm structures usually tan or brown in colour. Rinse corms gently and discard any that are soft, mushy, or showing signs of rot.
Place healthy corms in damp sphagnum moss or perlite, then seal them in a ventilated box or clear cup. Both methods work, but moss gives better airflow and lowers rot risk. Keep them warm and bright. Roots and shoots should emerge within 3–8 weeks. Once a small plant is established, pot it into compost.
Water Propagation
You can water propagate corms for many Alocasia species. Place corms in water, making sure the top of the corm stays above the water line. Put the container in a warm, bright location and change the water every few days.
Common Problems and Solutions
Drooping Leaves
Overwatering is the most common cause of drooping leaves. Alocasia have shallow, fleshy rhizomes that are highly sensitive to saturated soil; even 24–48 hours of waterlogged conditions can trigger rapid leaf collapse as oxygen-depleted roots fail. If the soil is consistently soggy, heavy, and wet several days after the last watering, roots are being suffocated and root rot is beginning. To diagnose, perform the finger test: insert a finger 5 cm deep into the soil. If it feels wet, hold off watering, check the roots, and repot into fresh, airy mix if they smell or feel soft.
Dehydration also causes drooping. If the potting mix feels completely dry, crumbly, or has pulled away from the edges of the pot, the plant is suffering from lack of moisture. The pot will feel noticeably light when lifted, and leaf edges may turn brown and crispy. If dry and the pot is light, water thoroughly and wait.
Light problems are one of the most common causes of drooping leaves—too little light makes stems weak and floppy. Move the plant to a brighter spot away from drafts. Temperature swings and drafts trigger leaf drop faster than expected. If the plant is drooping and shedding leaves as days shorten, it may simply be entering dormancy. Ease off watering, keep the tuber warm, and it usually returns in spring.
Mild cases from temporary stress may bounce back in 3–5 days with proper care. Severe root damage or pest infestations can take 2–4 weeks to show improvement. Move the plant somewhere warm and bright, away from drafts, and be patient through dormant months.
Is Alocasia Toxic to Pets?
All Alocasia species are toxic to cats and dogs. The entire Alocasia genus is listed by the ASPCA as toxic due to insoluble calcium oxalate crystals. All parts of the plant contain these crystals; chewing causes oral pain, swelling and drooling, and may cause vomiting. Even a small chew can require a vet visit.
Signs usually appear soon after chewing rather than hours later—watch for drooling, pawing at the mouth, vomiting, loss of appetite, or unusual lethargy after your cat has had access to the plant. Severe oral swelling can affect breathing.
If you suspect your pet has chewed Alocasia, call your vet or the ASPCA Animal Poison Control Center on (888) 426-4435 in the US, or Animal PoisonLine on 01202 509 000 in the UK and follow their advice. Do not induce vomiting unless a vet or poison-control specialist instructs you to.
FAQ
How often should I water my Alocasia?
Water every 5–7 days in spring and summer when the top 2–3 cm of soil is dry, and reduce to every 2–3 weeks in winter. Always check the soil with the finger test rather than watering on a fixed schedule.
What light does Alocasia need?
Provide bright indirect light. Direct sun in summer burns the foliage, so place the plant near an east- or north-facing window or several feet back from a south-facing one.
What temperature range is best for Alocasia?
Keep temperatures between 16–30°C (60–85°F). Avoid temperatures below 16°C and cold drafts, which cause rapid leaf drop and stress.
How do I propagate Alocasia?
Propagation is easiest in spring or early summer. You can divide the rhizome with a sharp, clean cut ensuring each piece has a growth bud, separate offsets once they have 2–3 leaves and visible roots, or propagate corms in damp moss or water.
Is Alocasia toxic to cats and dogs?
Yes, all Alocasia species are toxic to both cats and dogs due to calcium oxalate crystals that cause oral pain, swelling, drooling, and potentially vomiting. Keep the plant out of reach of pets, and call your vet or poison control if chewing occurs.
How do I increase humidity for my Alocasia?
Place the pot on a tray of moist gravel or pebbles, which raises humidity as water evaporates. Misting the leaves in spring and summer also helps, though a pebble tray is more effective long-term.
More about Alocasia
Sources
- Alocasia / RHS Plant Guide
- 11 Types of Alocasia: A Buyer's ID Guide
- Alocasia Care Guide: Watering, Light & Problems
Photo: Titouan Jullien / Pexels, Pexels