Bromeliad Guzmania
Bromeliad Care: The Complete Guide to Growing Guzmania Indoors
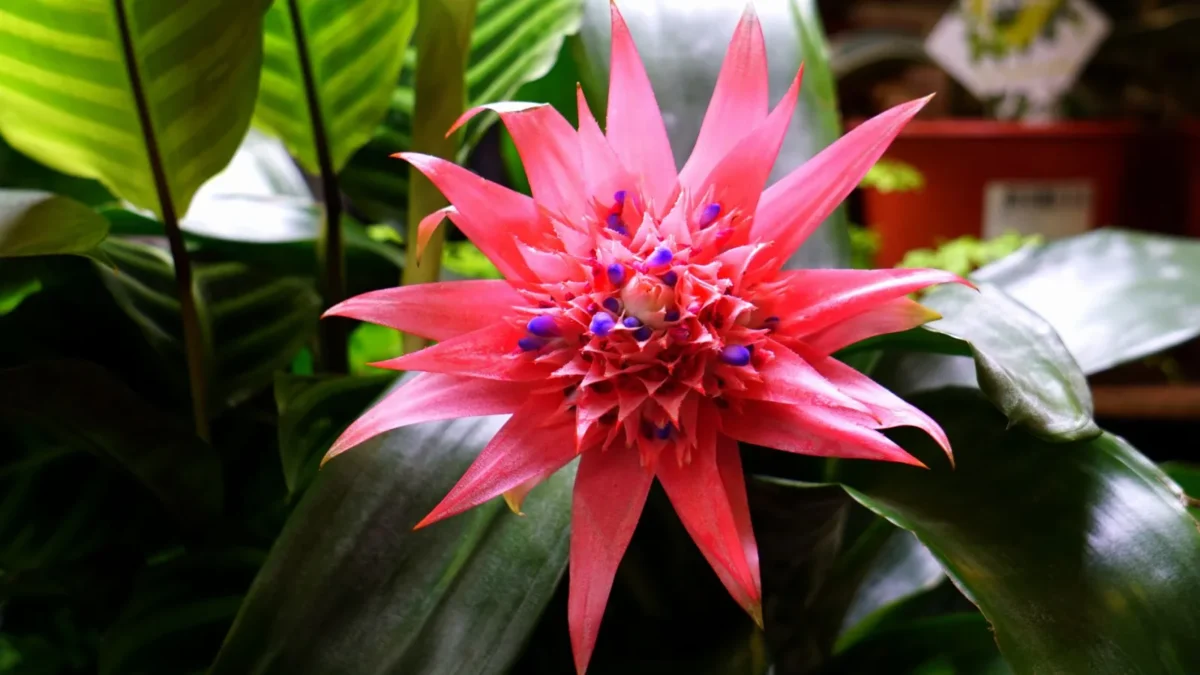
Bromeliads (Guzmania) are tropical plants that bring vibrant color and exotic appeal to any indoor space. This guide covers everything you need to know about bromeliad care, from daily maintenance to solving common problems, so you can keep your plant thriving for years.
| Botanical name | Guzmania |
|---|---|
| Light | Bright, indirect light; tolerates low light and artificial light |
| Watering | Keep central cup filled ¼ to ½ way; water soil when top dries; empty/refill cup monthly |
| Humidity | High humidity; mist regularly; use pebble tray or humidifier |
| Temperature | Summer 21°C (70°F); cooler 12°C (55°F) when buds form; minimum 10°C (50°F) winter |
| Soil | Peat-free, loam-free, free-draining mix of fine bark, perlite, coir fibre |
| Feeding | Half-strength diluted fertilizer or less |
| Size | 1.00 to 2.00 feet height and spread |
| Difficulty | easy |
Key points
- Keep the central cup filled ¼ to ½ way with fresh water, refilling monthly
- Provide bright, indirect light; Guzmania tolerates low light and artificial light well
- Maintain high humidity with regular misting, a pebble tray, or humidifier
- Use a peat-free, free-draining mix of fine bark, perlite, and coir fiber
- Fertilize with half-strength diluted fertilizer or less
- Expect the parent plant to die after flowering, but propagate pups for continuous growth
Light Requirements for Bromeliads
Guzmania needs bright, but indirect light to thrive. This means placing your plant near a window with filtered sunlight rather than direct sun exposure. A north-facing window, or a spot a few feet back from a south- or west-facing window, works perfectly.
The good news is that bromeliads do well in low light conditions and artificial light, making them flexible for various indoor spaces. If you’re growing them away from windows—perhaps in an office or bathroom with only overhead lighting—they’ll still perform well, though growth may be slower.
One important note: too much direct sun can bleach the leaves brown or even white, depending on sun intensity. If you notice this happening, move your plant slightly further from the light source.
Watering Your Bromeliad Correctly
Bromeliad watering has two distinct parts: the central cup and the soil.
The central cup
The center of the foliage should always be filled ¼ to ½ way full of water at all times. This cup is not a design quirk—it’s how the plant naturally collects water in its tropical habitat, and it’s essential to its survival.
Use rainwater or tap water that has been allowed to sit for a day or two to remove chlorine and fluorine. Alternatively, filtered or distilled water works well. Why? Tap water with high mineral content can leave your bromeliad’s leaves dotted with brown deposits and cause mineral buildup.
Every few weeks, empty out any standing water in the cup, rinse it, and fill it with fresh water. This prevents salt and mineral buildup and keeps water from becoming stagnant. Freshen the cup occasionally by overfilling it until water spills over into the pot.
The soil
Water the compost in summer to keep it damp but not soggy; in winter water more sparingly, letting the compost dry out between waterings. Water your plants well and then allow the soil to dry before watering again—Guzmania are prone to root rot if the soil is kept wet, and proper drainage is essential.
During cooler or winter months, keep the plant drier and keep it barely moist without misting.
Humidity and Temperature Needs
Humidity
Guzmania plants need humid air to prosper. The best ways to raise humidity around your bromeliad are to stand the container on a saucer of damp gravel or clay pellets and mist the leaves regularly with soft water. Position in bright, filtered light and mist daily with rainwater when in growth.
If the air is too dry, especially indoors, it can result in browning of the leaf tips or edges. Using a pebble tray or humidifier will help boost humidity significantly.
Temperature
Keep your bromeliad at around 21°C (70°F) in summer to encourage flowering. Once buds form, cooler temperatures of 12°C (55°F) will help the display last longer. Provide a minimum of 10°C (50°F) in winter.
Cold temperatures contribute to leaves turning brown and dying, so protect your plant from drafts and sudden temperature drops.
Soil and Repotting Bromeliads
The soil mix must be porous enough to allow water to drain off quickly, never soggy, and allow air to reach the roots. Grow your bromeliad in a peat-free, loam-free, free-draining potting mix, such as a mix of fine bark, perlite and coir fibre.
Guzmania naturally grow as epiphytes in tropical rainforests, perched on trees rather than in soil, so they don’t need traditional potting compost. A light, airy mix mimics their natural habitat and prevents the root rot that kills so many indoor bromeliads.
Repotting is rarely necessary since the parent plant lives only a few years before flowering. When the time comes, use the same type of free-draining mix and avoid compacting it around the roots.
Feeding and Fertilizing
Use a diluted fertilizer of half-strength or less. During the growing season (spring and summer), apply fertilizer every month or two, and reduce feeding in autumn and winter.
Because bromeliads are slow-growing plants that naturally live on nutrient-poor tree bark, they don’t need much fertilizer. Over-feeding can actually harm the plant and cause salt buildup in the soil and cup.
Pruning and Maintenance
Bromeliad maintenance is minimal. Remove any dead or dying leaves by cutting them away at the base with clean scissors. Brown leaf tips can be trimmed off without harming the plant.
During growth, mist daily with rainwater to keep the leaves clean and maintain humidity. This also helps prevent dust accumulation, which can block the plant’s ability to absorb nutrients through its leaves.
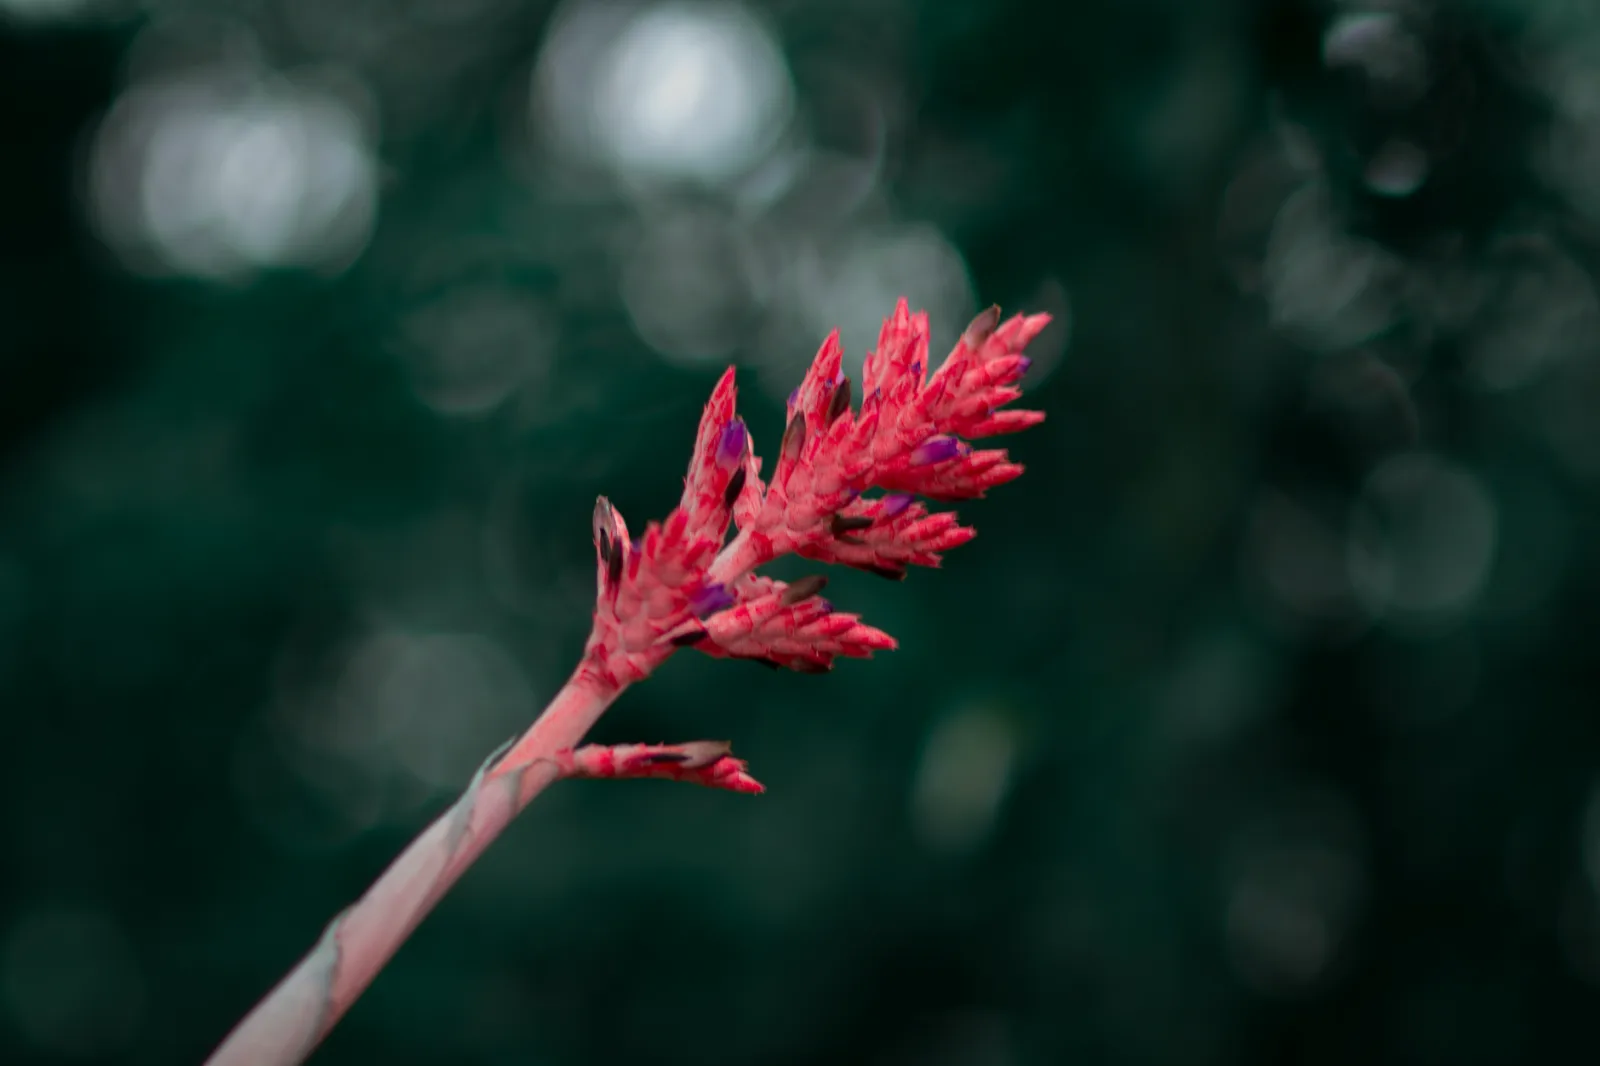
Generally, bromeliad flower spikes look good for about two to four months before starting to fade. The colorful display you see is partly made up of bracts—modified leaves surrounding much smaller true flowers. When the bracts eventually lose color, turn brown at the tips, become papery, collapse, or dry completely, this is normal after the display finishes.
Propagating Bromeliads from Pups
Once the flower-head fades, the rosette of leaves begins to die and is replaced by offsets (pups) at the base of the plant. This is how bromeliads renew themselves, and it’s good news—while the parent plant is dying, baby plants are already forming.
When to harvest pups
Harvest pups once they reach about one-third to one-half the height of the mother plant. This size ensures the offset has sufficient leaf surface area to perform photosynthesis and sustain itself once detached.
Removing and preparing pups
Use clean, sterilized clippers or a sharp knife to separate the babies from the main plant; cut each offshoot off at the point where it is attached to the mother. The ones at the soil line will usually have some of their own roots, but those that grow solely attached to the stem might not.
Make sure that the pup has some roots attached to it as they are necessary to provide support for the pup; however, even without any roots the pup will still grow its own roots.
Let the cut surfaces dry in shade for a couple of days (a few hours for thin-leaved bromeliads) so they seal before potting.
Potting pups
Use a container roughly twice the size of the baby and fill it with a soilless potting mix with perlite and orchid bark; sphagnum moss is also a good choice. Make sure the mix is light and airy so the roots get good airflow; water should be able to drain freely through the potting material.
Plant the pups at the same depth they were in the original container, taking care to cover all of the roots, and place the pot in a warm location with plenty of bright, indirect light. Fill the pup’s center cup with water and keep the soil evenly moist, but not soggy.
If your bromeliad pups don’t have roots, you can still propagate them because they are epiphytes and get their nutrients and moisture from their central cups; prop them up with wooden stakes, as this will allow them to develop roots without the risk of rotting if they’re planted too deep.
Timeline for rooting and maturity
If you ensure that the warmth, humidity, and light conditions are correct, it should take around 4 weeks for the bromeliad pups to root; you’ll know they’re rooted when you start to see new growth. The whole process from pup to mature plant takes about 2-3 years. The mother plant flowers only one time and produces pups which mature after 18-24 months and then they flower, and the cycle repeats itself.
Common Problems and Solutions
Brown and crispy leaves: Brown and dry leaves can be caused by watering your bromeliad too infrequently. Let the soil dry out almost completely, but avoid letting it stay this dry for too long. Low humidity can also cause crispy leaves; increasing humidity will help your plant greatly. If the soil stays too dry for too long, the roots can die back and it becomes difficult for the plant to take up soil moisture.
Brown, mushy lower leaves: If you’ve kept the growing medium too wet, the lower leaves will turn brown and ultimately mushy. Root rot from overwatering and damp soil causes the leaves and roots to turn brown. Ensure your soil is well-draining and allow it to dry between waterings.
Brown spots and mineral deposits: Tap water is a cocktail of chemicals that can leave your bromeliad’s leaves dotted with brown, often chlorine and fluoride. To avoid these unwelcome effects, use rainwater or filtered water for hydration.
Browning bracts after flowering: Once the flower-head starts to turn brown or the color fades, it’s a sign that the plant is done blooming and is starting to die, which is a normal part of their life cycle. Unfortunately, there’s nothing you can do to save the plant once it starts dying, but keep it growing as long as possible so baby pups have time to form and mature. When the leaves and bracts start turning brown, it means your bromeliad is beginning to fade and will eventually die; it can take anywhere from a few weeks to several months for them to die completely.
Plant decline: Bromeliads can decline gradually over a year or two after flowering. This is natural and expected. Focus your energy on growing the pups that form during this period.
FAQ
How long does a bromeliad flower last?
Generally, bromeliad flower spikes look good for about two to four months before starting to fade. Some varieties display for 1-2 months. The colorful display you see is made up of bracts (modified leaves) rather than true flowers, and these eventually lose color and turn brown as the plant begins its natural decline.
What happens to a bromeliad after it flowers?
After flowering the parent plant dies. However, before it dies completely, it produces pups (baby plants) at its base. These pups provide for the steady renewal of the plant, so you can harvest them and start new plants, continuing the cycle.
Can I use tap water for my bromeliad?
Tap water is not ideal because it contains chlorine and fluoride that can leave brown spots on leaves. Use rainwater or tap water that has been allowed to sit for a day or two to remove chlorine and fluorine. Filtered or distilled water is also a good choice.
How often should I mist my bromeliad?
Mist daily with rainwater when your bromeliad is in growth. However, in winter, keep the plant barely moist without misting. Regular misting, combined with a pebble tray or humidifier, helps maintain the high humidity these tropical plants need.
Is a bromeliad safe for cats and dogs?
Yes, bromeliads are safe for both cats and dogs. However, a cat or dog that chews a large amount of any foliage can still get a mild, brief stomach upset, so discourage grazing, but it will not be poisoned.
How big does a bromeliad grow?
Guzmania typically reach 1.00 to 2.00 feet in both height and spread, making them perfect for windowsills, shelves, and small table spaces. They’re compact plants that fit well in most indoor environments.