Monstera Adansonii Monstera adansonii
How to Propagate Monstera Adansonii in Water and Soil
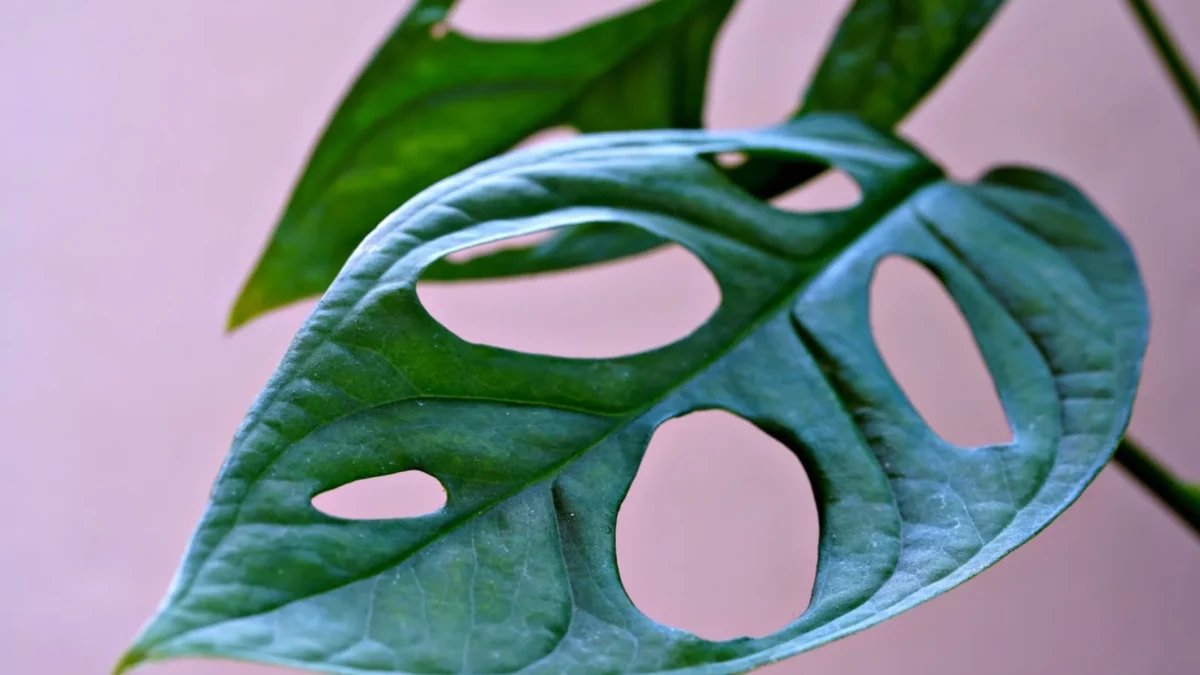
Quick answer: Propagate Monstera Adansonii by taking a stem cutting with at least one node and rooting it in water, soil, or sphagnum moss. Water propagation is fastest and most popular—roots appear in 2–4 weeks.
Monstera Adansonii at a glance
| Botanical name | Monstera adansonii |
|---|---|
| Light | Bright indirect light; tolerates low light but growth slows and becomes spindly |
| Watering | Water when top 1-2 inches of soil are dry; keep just moist in winter |
| Humidity | Moderate to high humidity |
| Temperature | 18–25°C (65–77°F); minimum 10-15°C |
| Soil | Peat-free, loam-based potting compost; well-draining, chunky aroid mix |
| Feeding | Balanced liquid fertilizer monthly during growth; or every 2-4 weeks diluted |
| Size | 1.5–2.5 metres tall; 0.5–1 metre spread indoors |
| Difficulty | easy |
Taking the right cutting
Success starts with the cutting itself. You need a stem section with at least one node, the point where leaves emerge from the stem. A leaf alone will not root or produce new growth, so don’t attempt propagation with leaves only.
Use clean, sharp scissors to cut just below the node. Remove any leaves that will sit below the waterline or be buried in soil, since submerged foliage rots.
How to propagate Monstera Adansonii in water
- Place your cutting in a jar of filtered water on a bright windowsill
- Change the water every 5–7 days
- Watch for roots to develop—typically 2–4 weeks
- Once roots reach 1–2 inches long and side roots have begun to branch, transplant to soil. Waiting for very long roots makes the soil transition harder
Water rooting is reliable, easy to monitor, and works well for most growers. Keep the jar in bright indirect light and avoid direct sun, which can heat the water.
How to propagate Monstera Adansonii in soil
For direct soil propagation, use a well-draining, chunky aroid mix. Remove the lower leaves from your cutting, then bury the nodes completely in the soil. Pack the soil loosely around the nodes and secure each cutting so it stands upright.
Keep the soil just moist (not waterlogged). Roots will form within 3–5 weeks if kept warm and in bright indirect light.
How to propagate Monstera Adansonii in sphagnum moss
This method works well if you prefer high humidity for rooting:
- Select a healthy stem section with a node
- Wrap moist sphagnum moss around the node
- Cover the moss with plastic wrap to retain moisture
- Keep the moss moist and check it weekly
- Roots typically form in 3–5 weeks
- Once roots are visible and strong through the moss, cut below the root ball and plant in soil
This air-layering style is useful if you want roots to develop while the cutting is still attached to the mother plant, then separate it when ready.
Aftercare for rooted cuttings
Once your new plant is in soil, keep it in bright indirect light. Water when the top 1–2 inches of soil are dry. During the growing season, feed with a balanced liquid fertiliser monthly, or every 2–4 weeks diluted.
Maintain warmth at 18–25°C (65–77°F) and moderate to high humidity. Avoid overwatering—this is the most common problem and leads to root rot. Young propagated plants are especially vulnerable, so err on the side of slightly drier soil until they’re established.
Read the full guide: Monstera Adansonii Care: The Complete Guide
More about Monstera Adansonii
The same problem in other plants
- How to Propagate Lucky Bamboo From Cuttings and Stems
- How to Propagate Echeveria: Leaf and Cutting Methods
- How to Propagate Haworthia: Step-by-Step
- How to Propagate Philodendron Birkin: Step-by-Step Guide
Sources
- Monstera adansonii [Monkey Leaf] ('Ppimon001')
- Propagate Monstera Adansonii: Easy Method That Works (USA 2026)
- How to Root a Monstera Adansonii Cutting (In Soil & Water)
Photo: hartono subagio / Pexels, Pexels