Burro's Tail Sedum morganianum
How to Repot Burro’s Tail: A Step-by-Step Guide
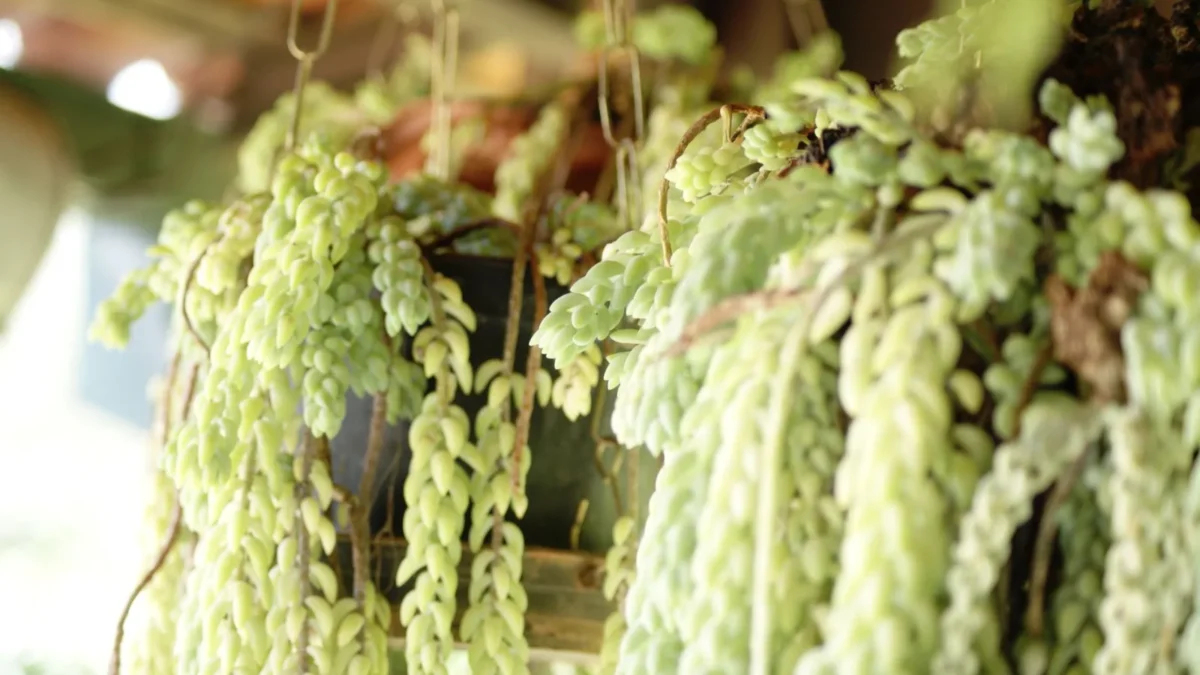
Quick answer: Repot your burro’s tail in spring or summer when the plant is actively growing. Choose a pot only 1–2 inches larger in diameter than the current one, use well-draining cactus or succulent potting mix, and handle the plant gently since leaves detach easily. Repot every couple of years to freshen the soil.
| Botanical name | Sedum morganianum |
|---|---|
| Light | Medium to high light; full sun south or west-facing |
| Watering | Spring/summer: water when soil completely dry, every 2-3 weeks; winter: once a month or less |
| Humidity | 30-50%; avoid high humidity and ensure good airflow |
| Temperature | 60-80°F (15-27°C); not frost-tolerant below 50°F (10°C) |
| Soil | Cactus or succulent potting mix with perlite, sand, or pumice for drainage |
| Feeding | Three feedings during spring and summer; none in winter |
| Size | Trailing stems up to 60 cm (24 in) long |
| Difficulty | easy |
Best time and frequency
The ideal window for repotting is spring or summer when your burro’s tail is in active growth. This timing helps the plant recover from the stress of being moved and establish roots in fresh soil. Most burro’s tails need repotting only every couple of years, so check whether the roots are crowded or soil has degraded before disturbing the plant.
Choosing pot size and soil
Use a container that’s only 1–2 inches larger in diameter than the current pot. This prevents excess soil from holding moisture around the roots, which can lead to rot. Fill it with a cactus or succulent potting mix enriched with perlite, sand, or pumice to promote drainage and prevent waterlogging.
Step-by-step repotting process
-
Remove the plant gently. Handle your burro’s tail with care—its leaves detach at the slightest touch. Consider tipping the container on its side and sliding the plant out to avoid unnecessary stress to the stems and leaves.
-
Inspect and prune roots. Once the plant is out, check the root system. Remove any rotted or blackened roots using clean scissors or your fingers.
-
Add soil to the new pot. Fill the new container with well-draining soil to approximately one-quarter inch below the rim.
-
Position the plant. Set the burro’s tail in the center, keeping the crown at the same level as it was in the old pot.
-
Cover with soil. Fill around the roots with potting mix, pressing gently to eliminate air pockets.
-
Wait before watering. Keep the burro’s tail dry for a week after repotting. This allows the roots to recover and callus over, preventing rot. After a week, water the soil lightly to encourage root growth while protecting against rot.
FAQ
Will repotting cause my burro’s tail to lose leaves?
Repotting can be stressful for the roots and may lead to some leaf drop as the plant adjusts to its new environment. This is normal and usually temporary if you follow proper technique and allow the plant to dry before watering.
What soil should I use?
Use a cactus or succulent potting mix with added perlite, sand, or pumice for drainage. This prevents soil from staying damp and causing root rot, which is a common issue in succulents.
How often should I repot?
Repot every couple of years to refresh the soil. Don’t repot more frequently unless roots are severely crowded or the plant is clearly outgrowing its pot.
Read the full guide: Burro's Tail Care: The Complete Guide
More about Burro's Tail
The same problem in other plants
- When to Repot Your Snake Plant: Signs and Timing
- When to Repot Pothos: Signs and Timing Guide
- When Should You Repot Echeveria?
- When and How to Repot Your Hoya Carnosa
Sources
- Burro's Tail Plant Care – How to Grow Sedum morganianum 'Burrito' – Soltech
- How to Propagate Burro’s Tail: 5 Burro's Tail Care Tips – 2026 – MasterClass
- Preventing Burro’s Tail Leaves from Falling Off: Causes and Solutions
Photo: Rodrigo Chaves / Pexels, Pexels